Forest Flight Rescue
LEGO Education Computer Science & AI
Forest Flight Rescue
Researchers are stranded deep in the forest. Build a rescue airplane, plan its flight path, and bring everyone home.
What You Will Learn
Before you go on a journey, it helps to plan your sequence: a set of steps in a certain order. Programmers plan with pseudocode, which means writing out what a program will do in plain English. It’s “human speak” for what you’re going to program your robot to do. Pseudocode isn’t code, and a robot can’t run it. It’s the plan you follow when you write the real code.
In the real world
Pilots plan a flight path before they take off. Programmers do the same thing: they go into writing a program with a plan, so they know what they’re trying to accomplish before they write any code.
Today you will:
- Write pseudocode that plans a flight path for a rescue airplane.
- Turn your pseudocode into a sequence of code blocks.
- Test and iterate on your code until your plane rescues every researcher without hitting an obstacle.
Background
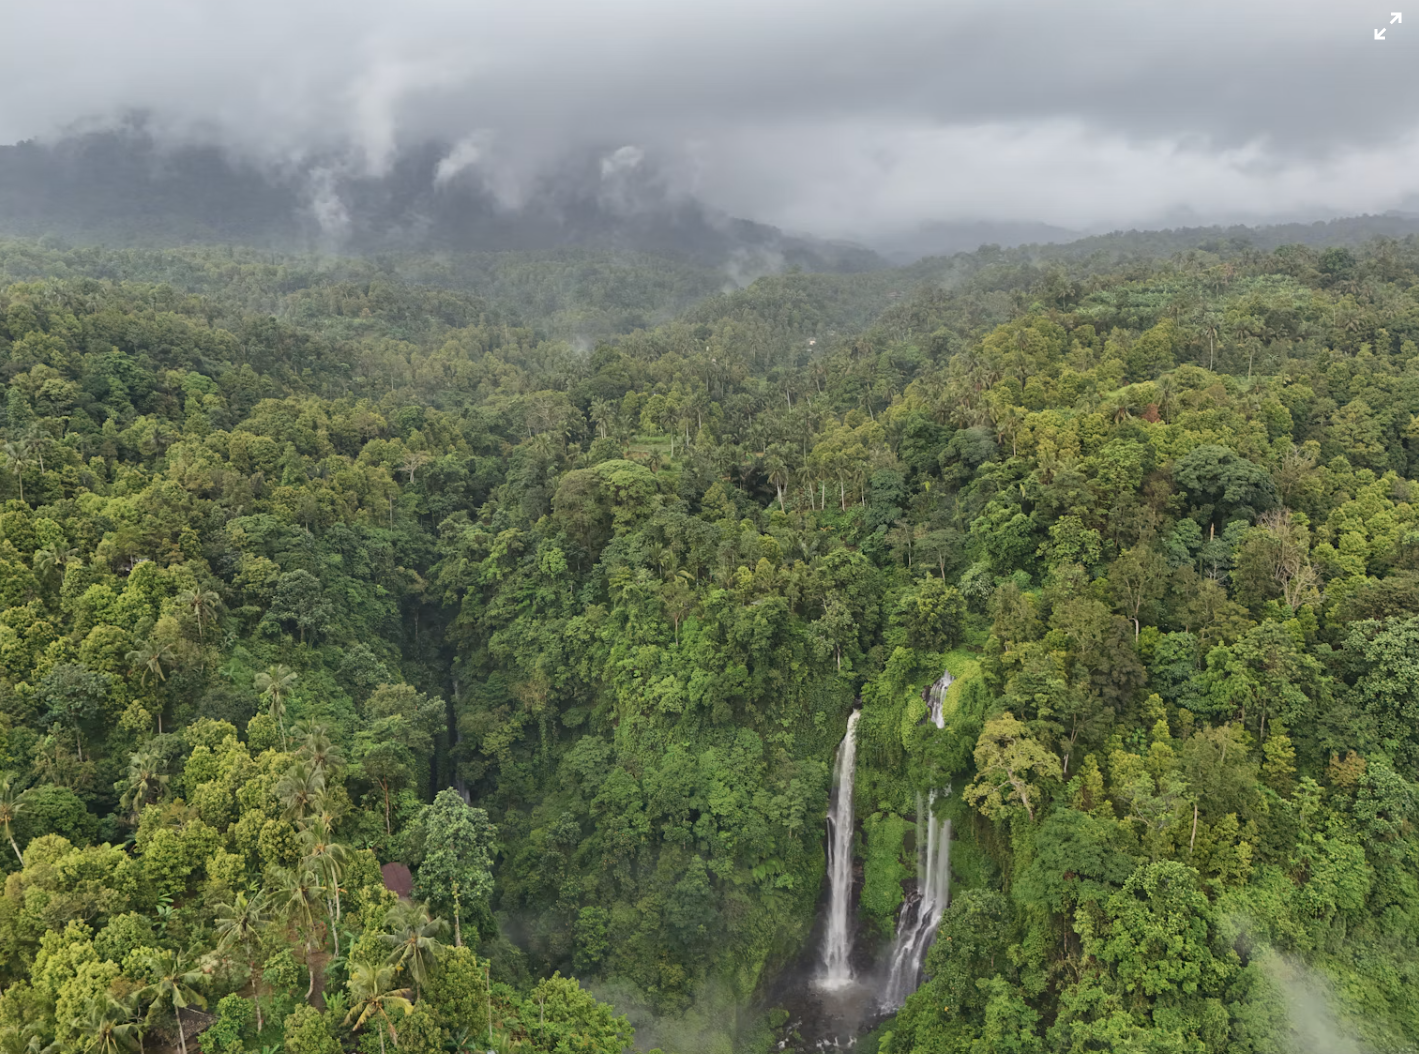
A team of researchers was deep in the forest, studying trees, and now they’re stranded. There’s no road in. Your job is to build a rescue airplane and plan the flight path that brings every researcher home.
Many places on Earth can only be reached by airplane. Deep in a forest, you might have to travel by boat up a river, or, if there’s an open area, you might be able to land a plane. In the Alaskan and Canadian wilderness, many places can only be reached by seaplane or by an airplane that can land on a very short runway.
A pilot flying into a place like that can’t just take off and hope for the best. They plan the flight path first. That’s exactly what you’ll do today.
Build It
You are building a rescue airplane that drives on the double motor, with a spinning propeller, a cockpit for the pilot, wings, and a tail.
You will need
- LEGO Education Computer Science & AI kit
- Building instructions C1, page 24
- The double motor (the only hardware you’ll use today)
Steps
- 1Open building instructions C1 to page 24. Take your pieces out first so you’re not hunting for them while you build.
- 2Decide how you will build. On your own, follow every step. On a team, each person takes one colored researcher and builds the steps that match. For example, the red researcher builds with the double motor: short axles into the wheels, a clear pink piece, and two black zigzag pieces.
- 3Build the first four parts, including the propeller. Slide them out of the way.
- 4Build the next four steps. Each person grabs a wheel and builds their part.
- 5Assemble the airplane. The long straight pieces come off the back of the double motor. The wide spot with the wheels is the front.
- 6Sandwich the tail pieces in place and make sure everything is secured. The skid plate goes underneath the tail so the tail slides easily on the table.
- 7Flip the plane over. Put the propeller on and give it a turn. It should spin.
- 8Snap on the cockpit, where your pilot sits.
- 9Add the tail to the back with the curved pieces facing forward. The two tall pieces of the rudder should stick up.
- 10Put the wing across the top. Sandwich it by putting a piece under it and a piece above it, then press nice and tight.
Tip
Building upside down can make it easier to balance everything while you assemble.
Check it
The propeller spins, the wheels are at the front, the skid plate is under the tail, the rudder sticks up, and the wing is pressed on tight. Gently push the plane across the table. The tail should slide without catching.
Coding
Start with the plan
Here is the pseudocode for the plane’s flight path. It’s an algorithm for rescuing researchers:
- 1Fly straight ahead.
- 2Turn left.
- 3Fly straight.
- 4Turn right.
- 5Fly straight.
Remember, this is not code. If you told your airplane “fly straight ahead,” it wouldn’t know what to do, because it’s hardware. Copy the pseudocode onto a piece of paper. Then move your plane by hand through each step and place a researcher where you think the plane will end up so it can rescue them.
Connect your plane
- 1Go to code.legoeducation.com and enter PIN 1303. Check that the page says Forest Flight Rescue, then press Start.
- 2If you’re using your own kit at home, you can choose continue without a card. In a classroom, use a connection card so you don’t accidentally program someone else’s plane.
- 3Press the button on the back of the double motor twice: once to turn it on, and once more to pair. You’ll hear a sound when the computer sees the double motor.
The starter code
The program comes with two stacks of blocks. Each one starts when you click Play.
| Flight path stack | What it does |
|---|---|
| when ▶ clicked | Starts the flight path when you press Play. |
| move 10 steps ↑ | Flies straight ahead 10 steps. |
| turn 90 degrees ↶ | Turns the plane a quarter turn to the left. |
| move 30 steps ↑ | Flies straight 30 steps. |
| turn 90 degrees ↷ | Turns the plane a quarter turn to the right. |
| move 10 steps ↑ | Flies straight 10 steps. |
| Speed stack | What it does |
|---|---|
| when ▶ clicked | Runs at the same time as the flight path. |
| set movement speed to 40% | Sets how fast the plane moves. |
Compare it to your pseudocode. “Move 10 steps” matches “fly straight ahead,” and each turn matches a turn in the plan.
Tip for small tables
Change each number of steps to about half. Leave the degrees alone. Steps are how far the plane travels, but degrees are how much it turns. Keep your plane close to you and your hands ready. If it starts heading off the table, press Stop.
Check it
Press Play. The plane flies forward, turns left, flies forward, turns right, and flies forward again. Move your researchers until the plane rescues them instead of running them over.
The Challenge
The researchers are scattered through the forest, and trees are in the way. Plan a flight path, code it, and rescue every researcher without crashing.
Build it: grow your forest
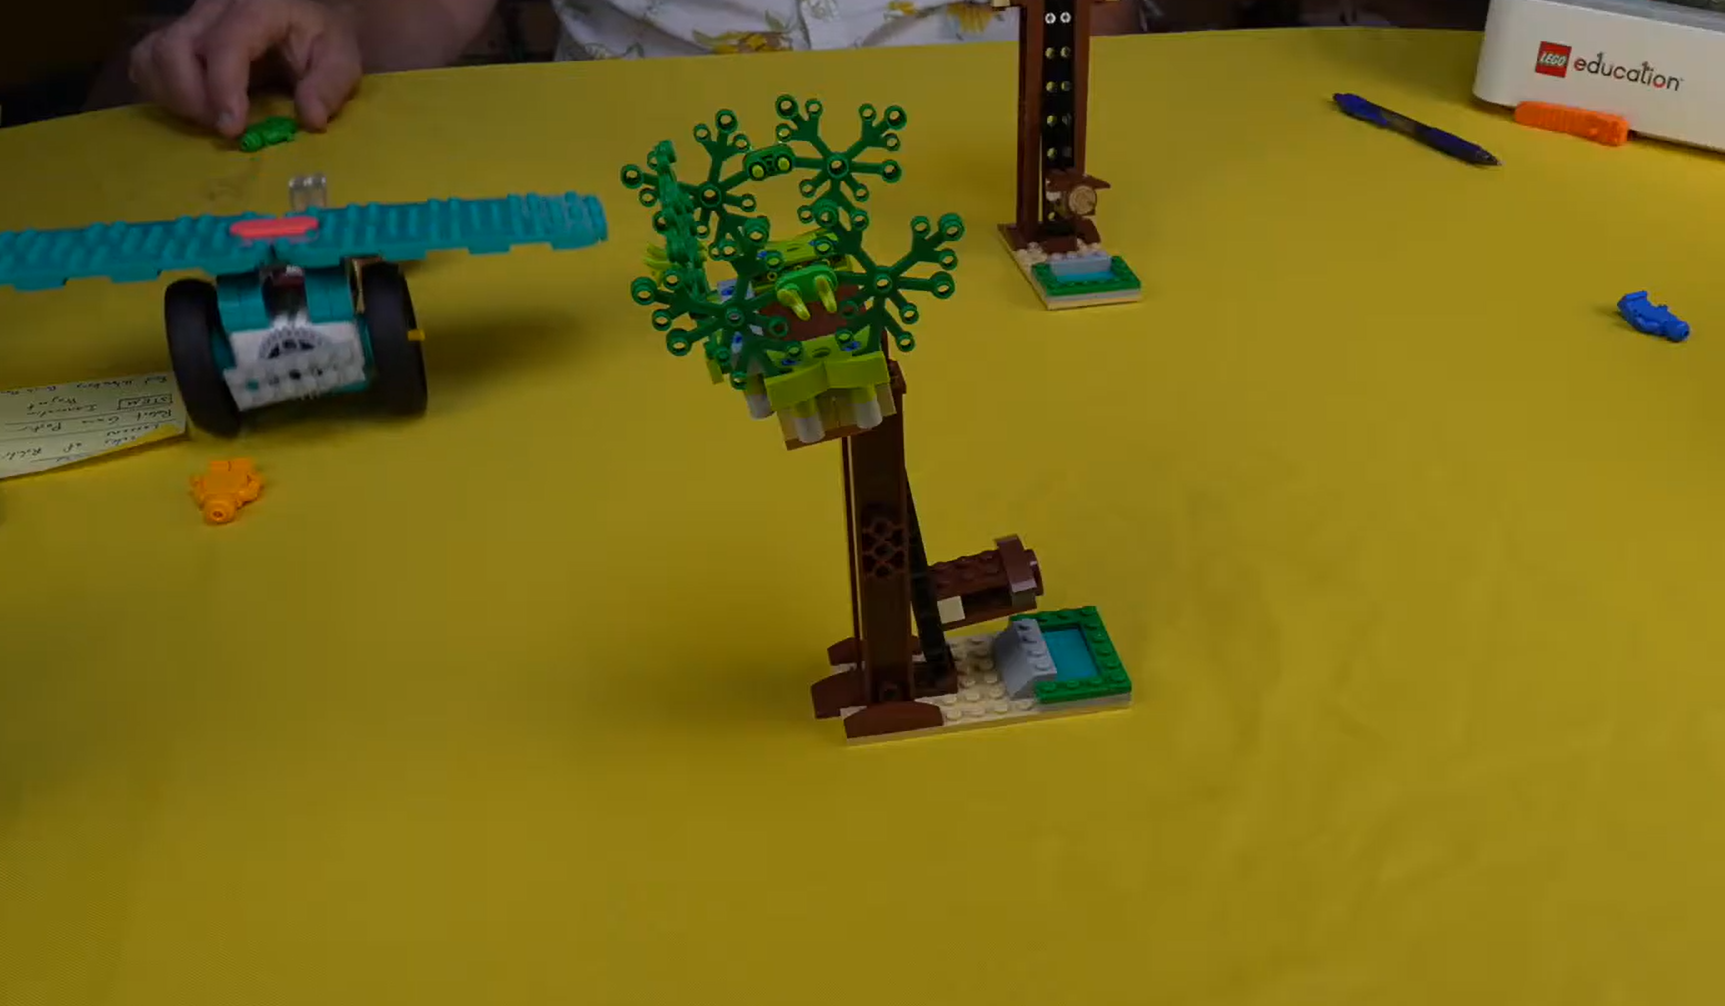
- 1Take about five minutes, on your own or with a partner, to build obstacles for your plane to fly around. These represent your forest. Trees work great!
- 2Choose a starting position for your plane.
- 3Place your obstacles. Try putting one right in front of the plane so it can’t just fly straight.
- 4Place your researchers around the table where the plane will need to rescue them.
Hint
These planes have very wide wings. Leave plenty of room around your trees so the wings fit through. If you have the space, the floor works even better than a table.
Code it: plan, then program
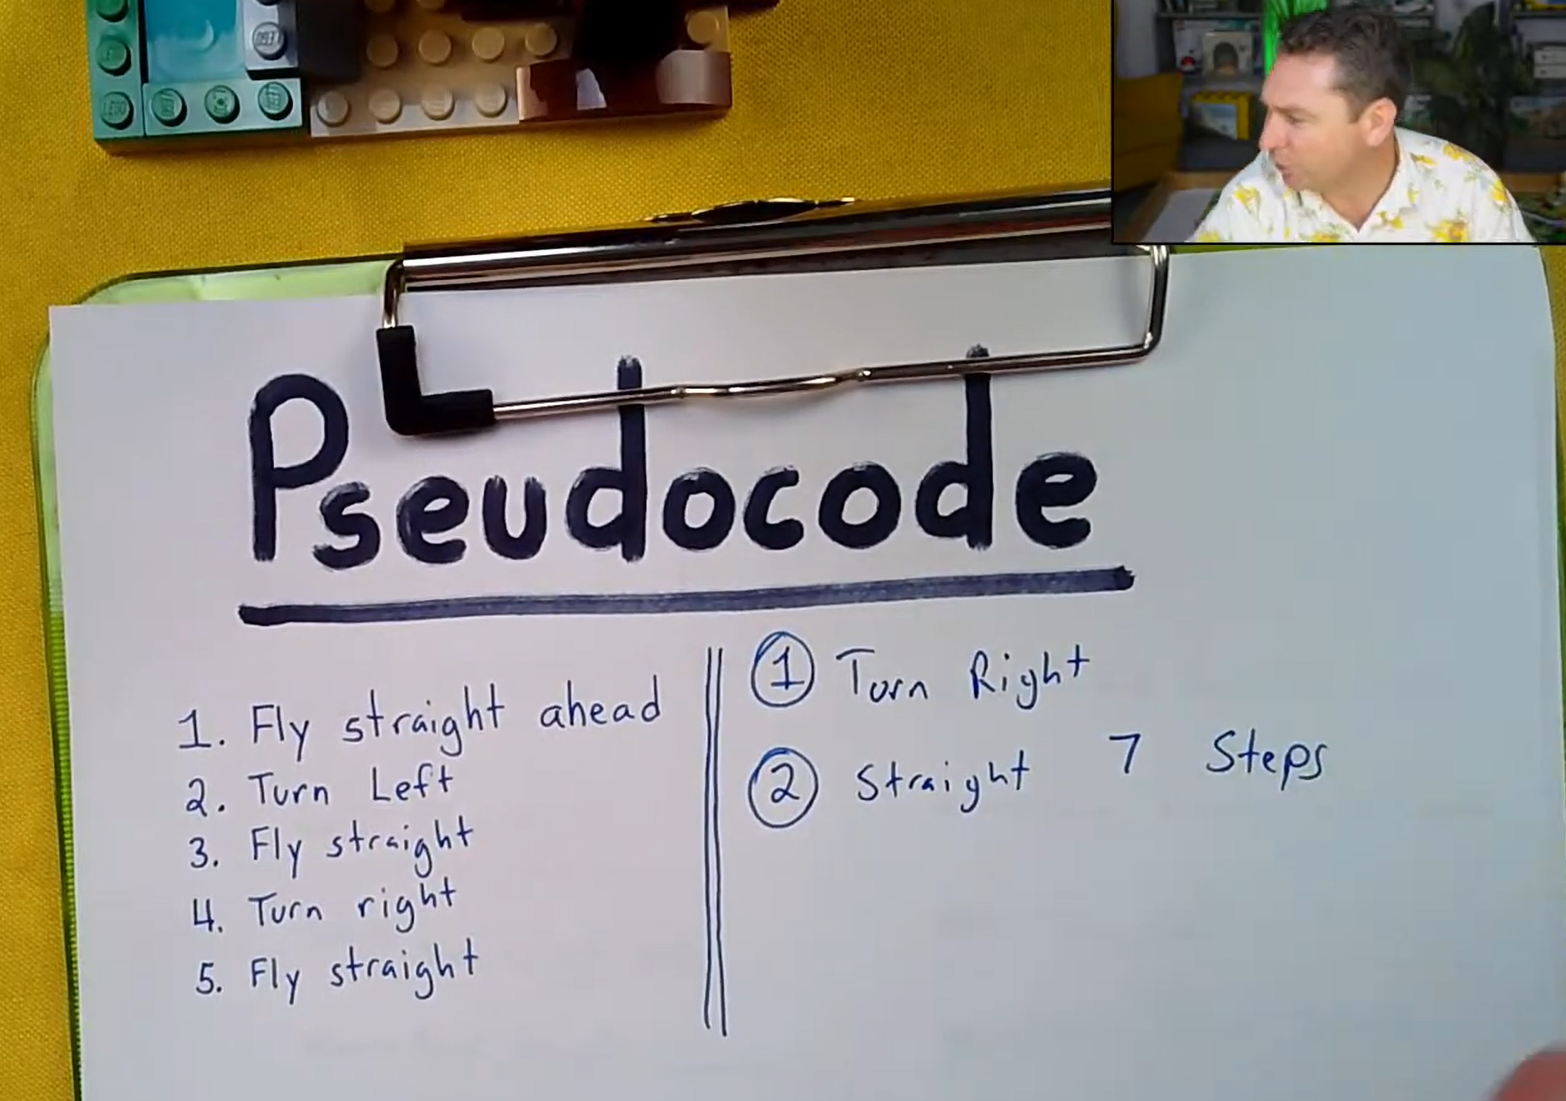
- 1Write your pseudocode first, one step per line. Include how far each move should go, like “Straight 7 steps.”
- 2Try to keep your plan to ten moves or fewer. The more moves a robot makes, the harder it is to stay consistent and precise.
- 3Draw a map of the path under your pseudocode.
- 4In the coding canvas, drag the starter blocks off to the side. Then build a new sequence that matches your pseudocode, one block for each step.
- 5Slow the plane down by changing the speed. Try 30%.
- 6Put the plane in its starting position, keep your hands ready, and press Play.
- 7Didn’t make it? Change your code and test again. This is called testing and iterating. When you iterate, you make things better. It’s part of the engineering design process.
Hint
Before you write each step, move your plane by hand to where it needs to go next. If the plane does the right moves but stops short or goes too far, try changing the numbers instead of the order of your blocks.
Build it better
Watch your plane during a test run. Do the wings clip the trees? Does the tail catch on the table? Make one change to your plane or your forest so the flight goes more smoothly, then test again.
Hint
Change one thing at a time so you know what made the difference.
You know it works when
Your plane touches or comes close to every researcher and doesn’t hit any obstacles.
Think About It
- 1What happened? How did your plane’s movement match your pseudocode? Where did it do something different from what you planned?
- 2Why? Why would a programmer write pseudocode before ever touching the computer?
- 3Real world: What strategies did you use to get around the obstacles? Where else in your life do you plan the steps before you start?
Ran into a problem? Leave a comment on the video saying where your problem was and how you fixed it, or ask for help.
Extension Challenge
Round trip
Rescuing the researchers is only half the job. They need to get back to base! Add steps to your pseudocode so that after the last rescue, your plane flies back to where it started. Then code it and test it.
Can you do the whole round trip in ten moves or fewer? Try moving your researchers or trees to make it harder, and see if your plan still works.
Coming up
In a future lesson, you’ll learn how to write a function with parameters to make precise turns.
Parent Overview
What we learned
Before writing a program, programmers plan it in plain English. That plan is called pseudocode. A sequence is the step-by-step code the robot actually runs.
What we did
Your child built a rescue airplane with a double motor from building instructions C1, page 24. They connected it at code.legoeducation.com with PIN 1303 and ran a starter program that matched a five-step pseudocode plan. Then they built a forest of obstacles, placed researchers around it, wrote their own pseudocode, and turned it into code that flew the plane to every researcher.
They’ve got it when you see
- They write out their pseudocode before they start dragging blocks.
- Each step in their pseudocode matches one block in their code.
- When a test run misses, they change the numbers and test again instead of starting over.
- The plane reaches or comes close to every researcher without hitting a tree.
If they’re stuck
- The computer can’t find the plane: Press the button on the back of the double motor twice, once to turn it on and once to pair, and check that the page says Forest Flight Rescue.
- The plane takes off before they’re ready: Press Stop. Keep the plane close by until they’re ready to test, because it’s easy to press Play by accident.
- The plane runs off the table: Cut the number of steps in each move block about in half. Leave the degrees alone.
- The plane hits trees or misses researchers: Have them move the plane by hand through each step to find where it goes wrong, then change the number in that block.
Challenge answers
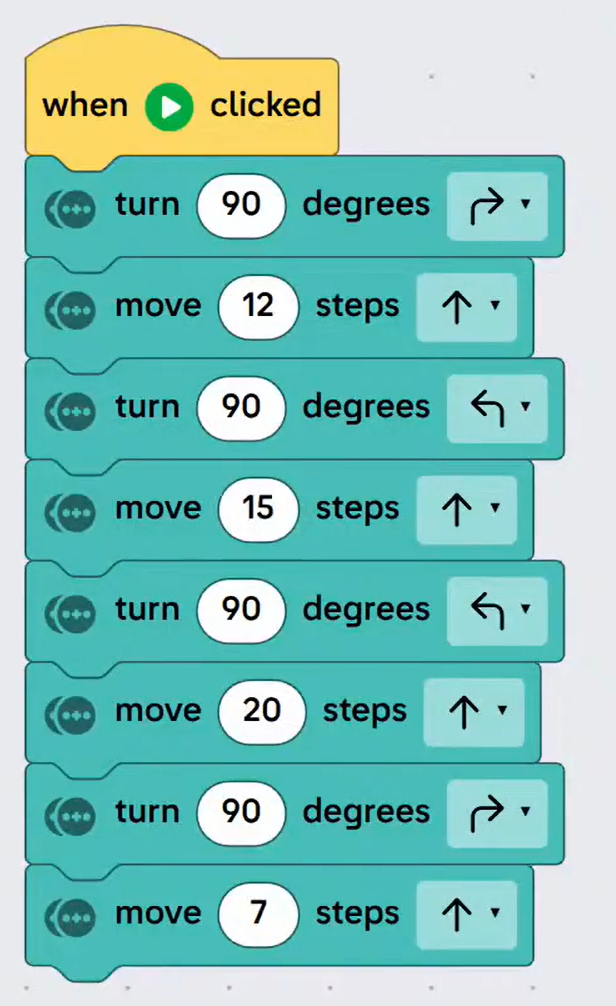
- Code it: There’s no single right answer, because it depends on where they put their trees and researchers. In the video, the pseudocode was eight steps: turn right, straight, turn left, straight, turn left, straight, turn right, straight. The first test ran into obstacles, so the distances were changed. The order of the blocks stayed the same.
- Build it better: Any change counts if they can explain what problem it fixed, like moving trees so the wide wings fit or checking that the tail slides freely.
Standards connection
- CSTA 2-AP-10: Use flowcharts and/or pseudocode to address complex problems as algorithms.
- CSTA 2-AP-13: Decompose problems into parts to make them easier to solve.
- CSTA 2-AP-17: Systematically test and refine programs.
- NGSS MS-ETS1-4: Develop a model to generate data for iterative testing and modification of a proposed solution.