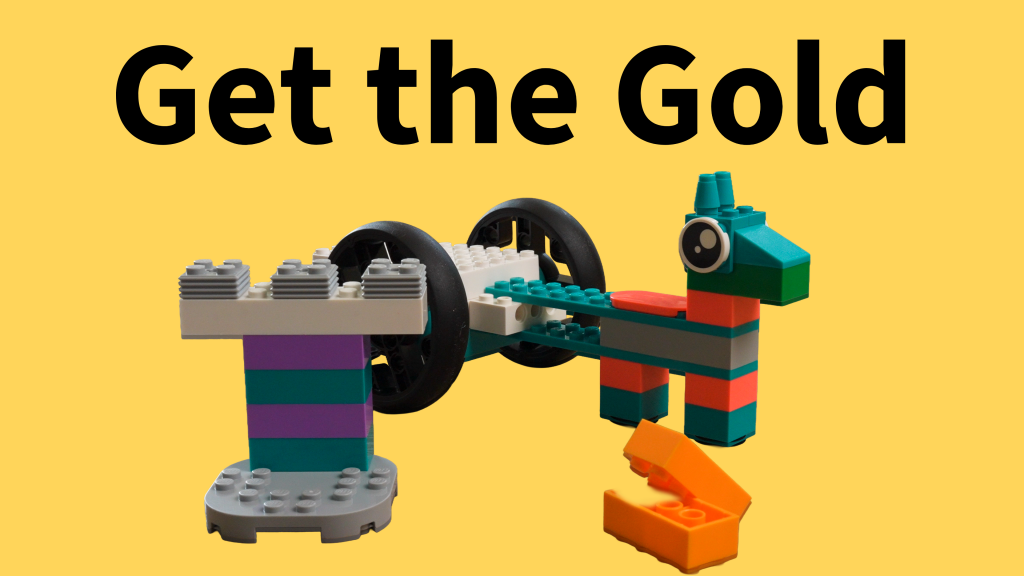
Get the Gold
Get the Gold!
LEGO® Education Computer Science & AI Grade 3 - 5
Unit 1 • Lesson 1
Mission
A treasure of gold is waiting!
Your job is to build a horse and carriage, then write a program that helps your robot travel from the castle to the gold and safely back home again.
Along the way, you'll learn one of the most important ideas in computer science:
Sequences
Every computer program follows a sequence of instructions. If the instructions are in the wrong order, the robot won't do what you expect!
New Vocabulary
Sequence
A sequence is a list of steps that happen in a specific order.
Think about:
- Making cereal
- Brushing your teeth
- Walking to school
If you do the steps in the wrong order, things won't work very well!
Troubleshoot
To troubleshoot means to find a problem, figure out what caused it, and fix it.
Great programmers don't expect their code to work perfectly the first time.
They test.
They learn.
They improve.
Warm-Up Questions
Before you start building, think about these questions.
1. What steps do you take to get from your home to school or to a park?
Try writing them in order.
2. What steps do you take to brush your teeth?
Can someone else follow your instructions exactly?
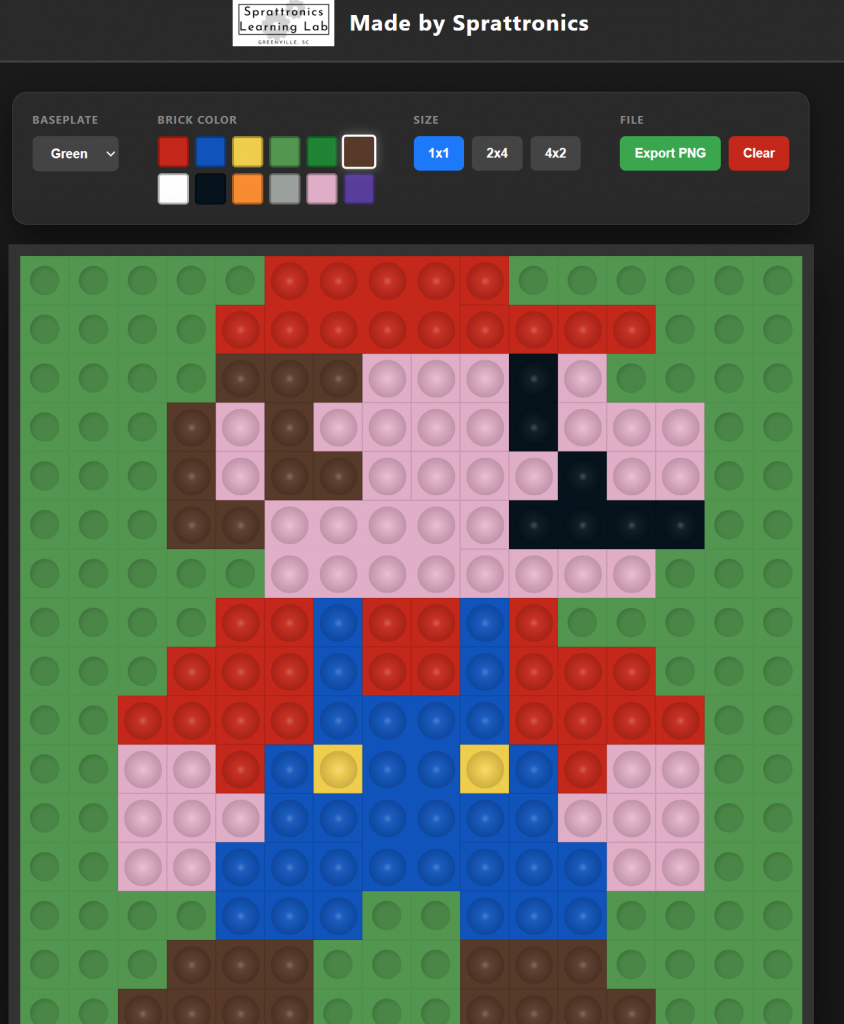
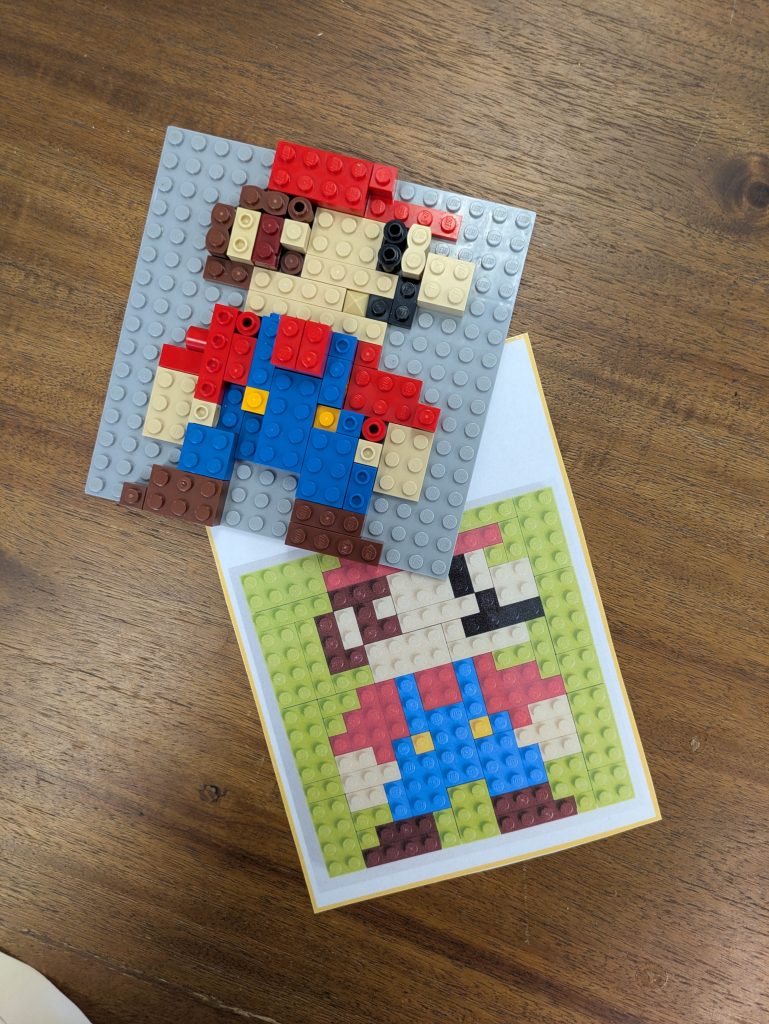
Build Your Robot
Follow the building instructions from:
Book B1
Page 16
Take your time building carefully.
Build Challenge
Can you make your model even better?
Try adding:
- A cargo carrier for carrying gold
- Decorations to make your castle look impressive
Be creative!
Coding Time
Go to:
code.LEGOEducation.com
Enter PIN:
1202
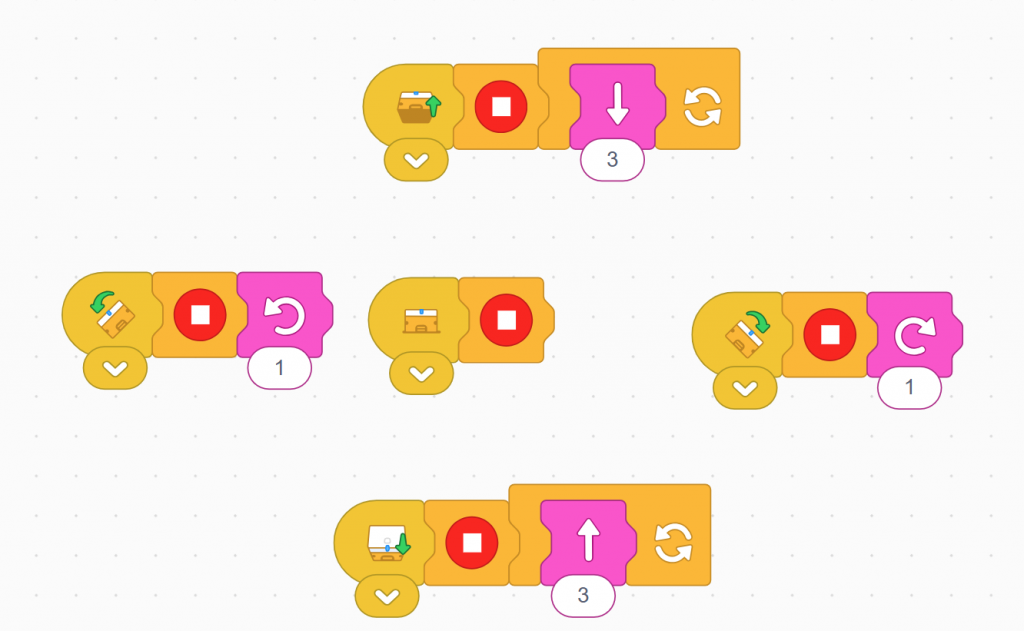
Run the example program.
Watch carefully.
Think Before You Code
What do you think this sequence does?
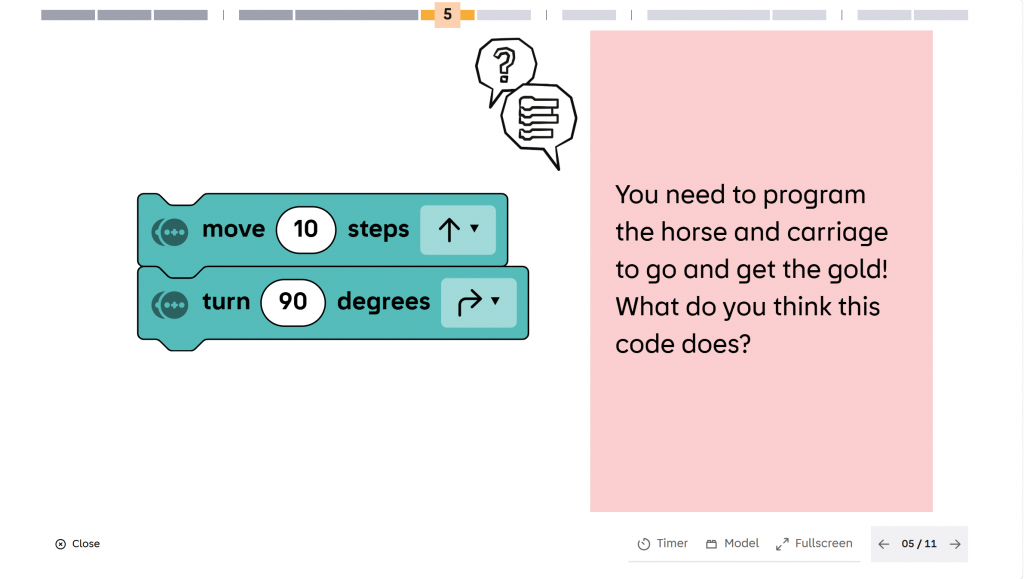
Talk with your partner before pressing Run.
Were you correct?
Your Challenge
Create a sequence that helps your robot:
- Start at the castle
- Travel to the gold
- Pick up the treasure
- Return safely to the castle
Remember...
Computers only do exactly what you tell them.
Test Your Program
Run your code.
Did it work?
If not:
- Change one thing.
- Test again.
- Keep improving.
That is what programmers do every day!
Reflection
Answer these questions after you finish.
1. What steps do you take to get from your home to a park or school?
2. What steps do you take to brush your teeth?
3. What do you think the example sequence does?
4. Write your own sequence that moves the robot from the castle to the gold and back to the castle.
5. Did you encounter any problems?
How did you troubleshoot them?
Challenge Yourself!
Can you make your robot:
- Take a different path
- Travel faster
- Add extra turns
- Pick up two pieces of gold
- Return to the castle using fewer commands
Programmers are always looking for better solutions!
Congratulations!
You just learned how to use sequences to control a robot.
Every game, app, website, and robot uses sequences to tell computers exactly what to do.
You are thinking like a computer scientist!