LEGO Education Computer Science & AI Kit: The Ultimate Getting Started Guide
LEGO Education Computer Science & AI Kit: The Ultimate Getting Started Guide
You Placed Your Order and the Kit is on the Way... Now What?
Congratulations! You've ordered the LEGO Education Computer Science & AI Set. Whether you're a classroom teacher, homeschool parent, after-school educator, or robotics enthusiast, you're about to unlock dozens of engaging STEM lessons that teach coding, engineering, artificial intelligence, and problem-solving through hands-on building.
But before you dive into your first lesson, there are a few important steps that will make your experience smooth and successful.
This guide walks you through everything you need to do before building your first robot.
Step 1: Create Your Free LEGO Education Teacher Account
Before your kit even arrives, head over to LEGO Education and create a free teacher account.
Why?
Because all lesson plans, teaching guides, presentations, and instructional materials are housed within the LEGO Education platform.
With a free account, you'll gain access to:
- Complete lesson plans
- Teacher guides
- Student activities
- Curriculum resources
- Computer Science & AI learning progression
Creating your account early means you'll be ready to start teaching the moment your kit arrives.
What to Do
- Visit the LEGO Education website.
- Create a free educator account.
- Verify your email address.
- Log in and explore the Computer Science & AI lesson library.
- Bookmark the lessons you'll want to teach first.
Sprattronics Tip: Spend a few minutes reviewing the overall lesson progression before your kit arrives so you'll already understand the learning objectives.
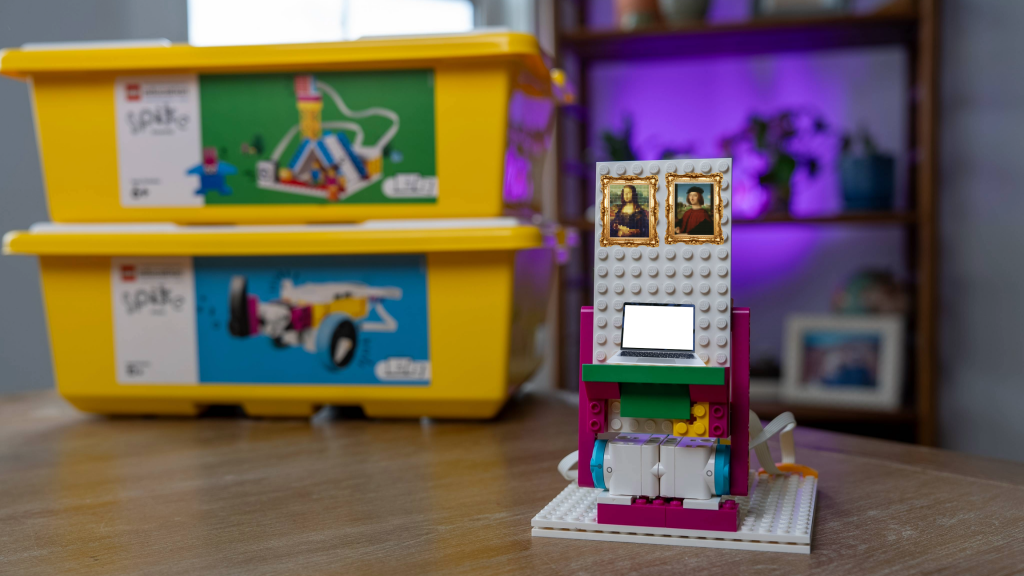
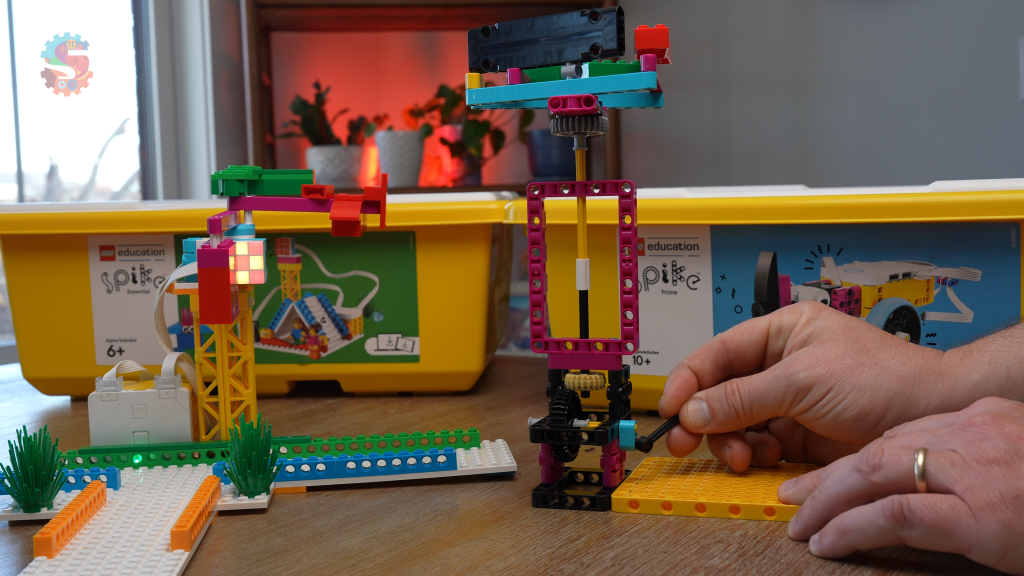
Step 2: Unbox Your Computer Science & AI Kit
Your kit has arrived!
Now comes the fun part.
Take some time to unpack everything and familiarize yourself with the components.
Inside the kit you'll find:
- Motors
- Sensors
- LEGO building elements
- Storage trays
- Charging cord
- Step by Step Build Instructions
As you unpack:
Check Your Inventory
Make sure all components are included and undamaged.
Organize the Pieces
The trays are designed to keep parts sorted and easy to find.
Charge Everything
Before your first lesson, charge:
- Smart Controller
- Motors
- Sensors (if applicable)
Starting with fully charged devices prevents interruptions later.
Bookmark the LEGO Education Coding Canvas
Go to CODE.LEGOEducation.com on the computer or tablet you'll be using.
Explore the interface.
Step 3: Update the Firmware
This is the step many people skip—and it's often the reason they run into problems.
Firmware is the software built into your hardware devices.
Updating firmware ensures:
✅ Better performance
✅ Improved reliability
✅ Access to the newest features
✅ Fewer connection issues
✅ Compatibility with current lessons
Before You Begin
You'll need:
- Your Smart Controller
- Motors
- Sensors
- Internet-connected computer
- Fully charged components
Firmware Update Process
- Open the LEGO Education Coding Canvas
- Click the BLUE Connect Button in the top right corner.
- Select the component you will be connecting.
- Follow the firmware update prompts.
- Update every motor and sensor.
- Wait for each update to complete before disconnecting devices.
Take your time during this process.
A fully updated kit will save you countless troubleshooting headaches later.
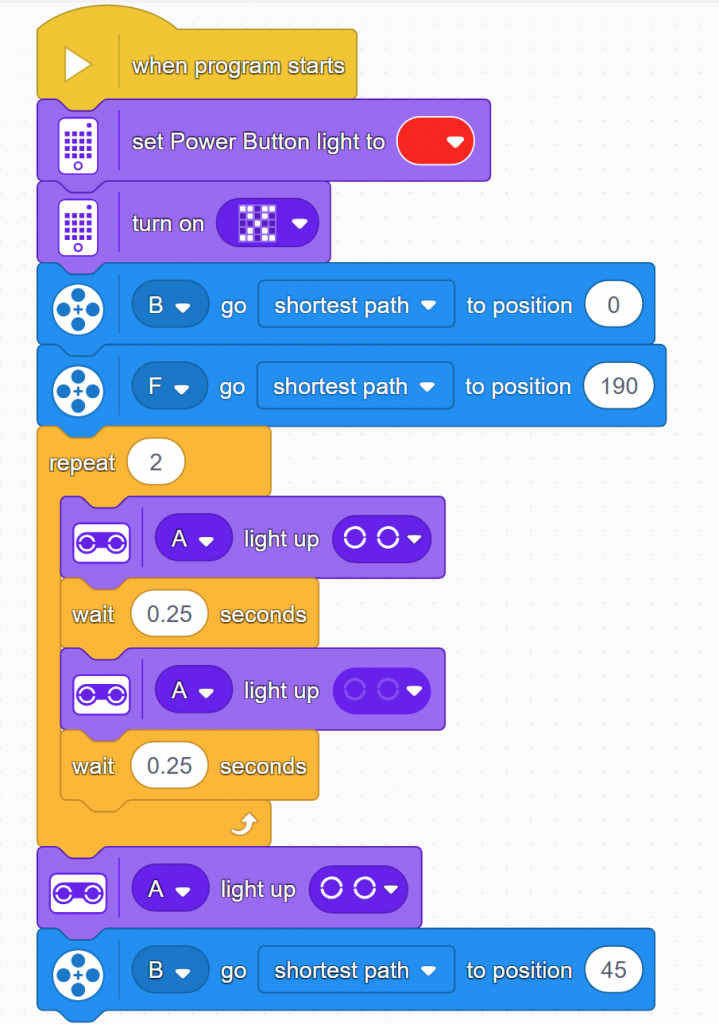
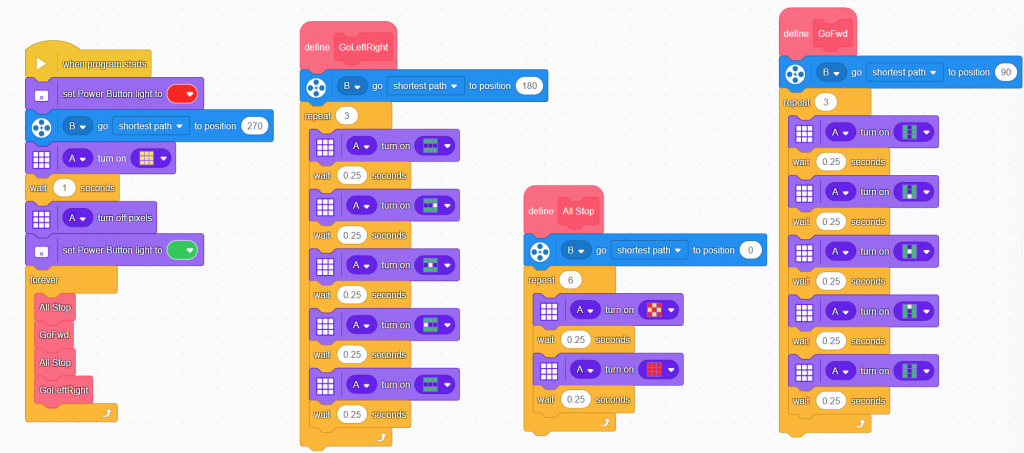
Step 4: Complete Your First Lesson — Inputs and Outputs
Now it's time to build your first robot.
The Robot Rookie lesson is designed as a beginner-friendly introduction to the Computer Science & AI platform.
This lesson introduces students to:
- Building instructions
- Inputs and outputs
- Motors
- Color sensors
- Basic Sequences
- Testing and iteration
What Students Build
Students create a Robot Server and Color Scanner.
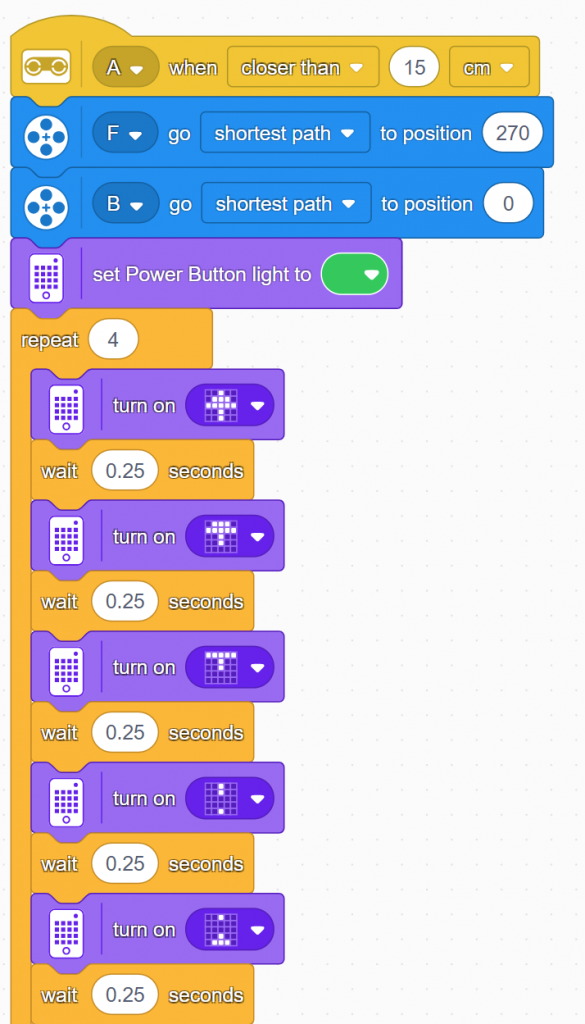
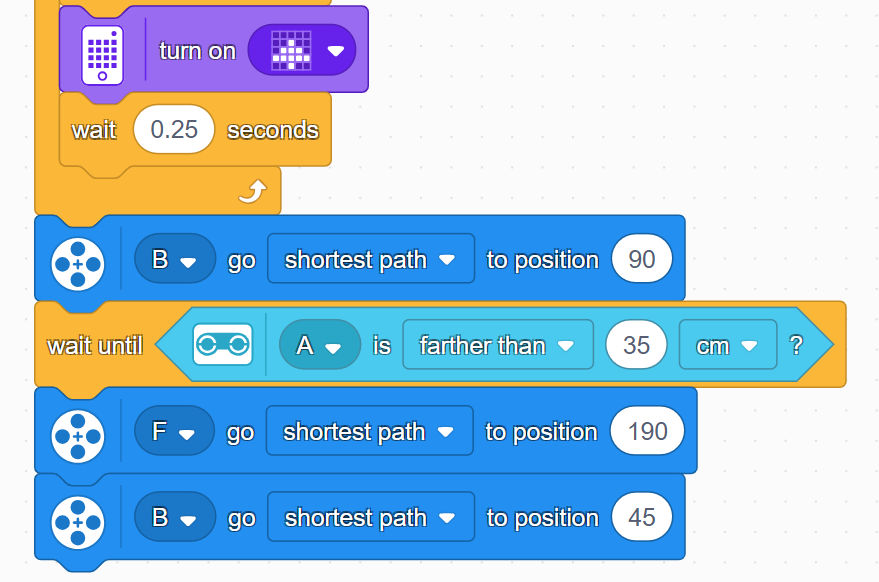
The robot uses a color sensor to detect different colored bars and then responds using motor outputs.
Key Learning Concepts
Students discover that:
Inputs are information coming into the robot.
Examples:
- Colors detected by the sensor
- Button presses
- Sensor readings
Outputs are actions performed by the robot.
Examples:
- Motor movement
- Sounds
- Lights
- Screen messages
Through experimentation, students begin making predictions about how different inputs affect outputs.
This foundational understanding becomes the basis for future coding and AI lessons.
Challenge Extension
After completing the guided activity, encourage students to:
- Create their own color sequences.
- Predict outputs before running programs.
- Improve the reliability of their design.
- Trade sequences with someone else and see if they can accomplish the same outcome.
This engineering mindset is how we maximize your education!
Here is a student worksheet to track your learning and log your discoveries!
What's Next?
Once you've completed Robot Rookie, you're officially up and running with LEGO Education Computer Science & AI.
From here, you'll continue exploring:
- Programming fundamentals
- Sensors and data
- Robotics engineering
- Artificial intelligence concepts
- Real-world problem solving
Each lesson builds upon the skills introduced in Robot Rookie.
Your LEGO CS & AI Launch Checklist
☐ Create your free LEGO Education account
☐ Explore the lesson library
☐ Unbox and organize your kit
☐ Charge all components
☐ Bookmark the LEGO Education Coding Canvas
☐ Update firmware on every device
☐ Complete the Robot Rookie lesson
☐ Start building your robotics and AI skills
Congratulations! You're ready to begin your LEGO Education Computer Science & AI journey.